Cleaning your tires and wheels will not only keep your vehicle looking great, but it will also keep your wheels from pitting and extend their lifespan. In this article, we’ll cover three steps for cleaning your wheels and tires, and we’ll share some of our favorite cleaning products along the way.
3 Steps For Cleaning Tires And Wheels
Wash tires and wheels
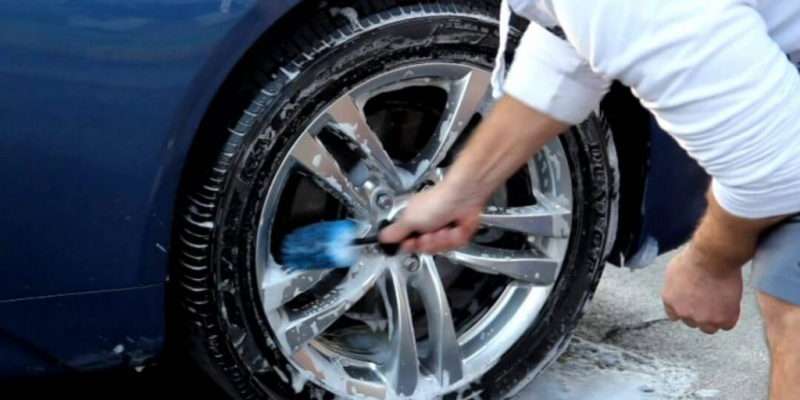
The first step in getting your wheels and tires gleaming is the most obvious—you need to give them both a good washing.
If you’re going to be washing your entire car, it’s important that you start by washing your wheels and tires. Otherwise, you could end up spraying the grime from your tires back onto your freshly cleaned fenders and quarter panels. We also suggest keeping a separate stock of cleaning supplies (buckets, brushes, wash mitts, etc.) just for your tires.
There is a wide variety of cleaning chemicals on the market that is specifically for cleaning wheels and tires. But, they’re not all designed to perform the same way. Before choosing a cleaning product, it’s important to consider what type of wheels you have.
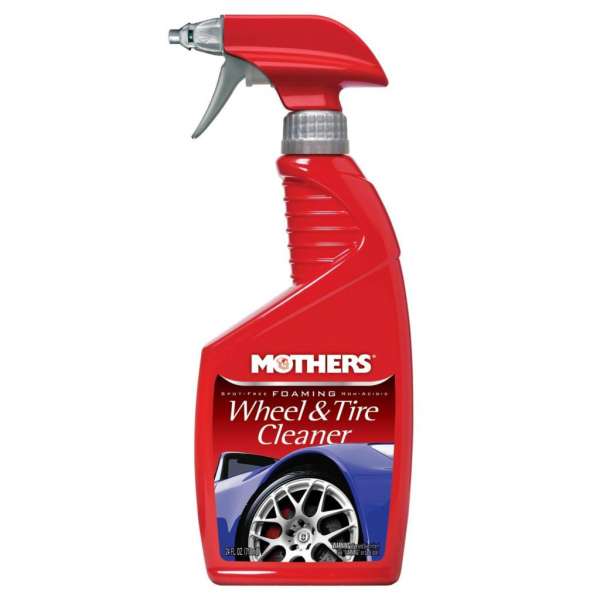
Aluminum and chrome wheels can hold up to some pretty harsh cleaners, but those same cleaners could damage anodized or painted wheels. You can find specific cleaners for chrome and aluminum, but when in doubt, we recommend going with a cleaner that is safe for any type of wheel. Our favorite product is the Foaming Wheel and Tire Cleaner from Mother’s.
It’s safe for most modern wheel coatings, and it’s incredibly easy to use. Simply spray the foam on your wheels and tires and let it sit for two minutes. Then, spray the product off with a hose. That’s it! No scrubbing necessary.
You may find that if you have some seriously stubborn grime built up on your wheels and tires, you will need to do a little scrubbing. In that case, use a stiff-bristled brush and put some serious elbow grease into your scrubbing.
Trust me, you’re not going to hurt the rubber and it’s going to take some muscle to knock all that brake dust and grime loose. However, when it comes to scrubbing your wheels, go with a feathered brush that’s a bit gentler so you don’t scratch the finish.
The important thing to remember when using tire and wheel cleaners is that you follow the guidelines and don’t allow the product to dry on your wheels. If you let the product to dry out, it could result in permanent staining.
Finally, after you’ve sprayed, scrubbed, and rinsed the excess off, dry your wheel off with a soft terrycloth towel. This will prevent water spots from forming on your wheels. Just make sure you only use that towel for tires and wheels, moving forward.
Apply wax to your wheels
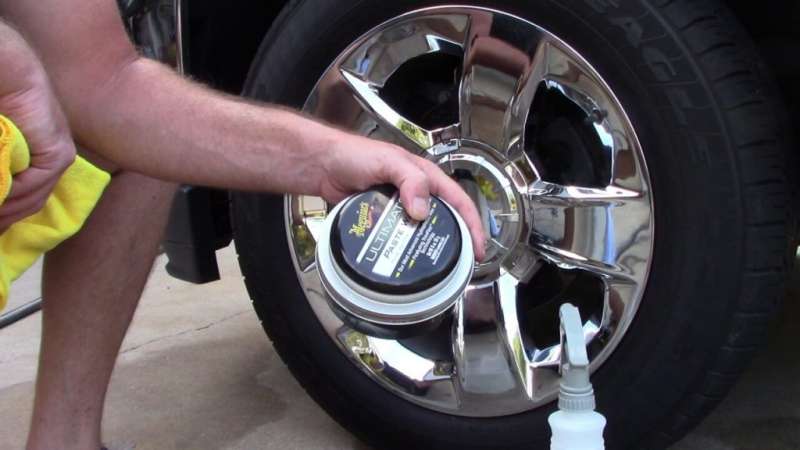
Once you’ve washed all of your wheels and tires and they’re dry, it’s time to add a little shine and additional protection to your wheels. There are a number of wheel waxes on the market that can do the job, but one of our favorites is McKee’s Wheel Glaze.
Regardless of which product you go with, you’ll find that it works just like any other vehicle wax. Use a foam applicator pad to apply the product on your wheels using small circular motions. Then, allow the wax to dry to a dull haze. Next, use a clean microfiber towel to buff the wheel and remove the haze. You’ll get a gleaming surface that will better hold up against grime and brake dust.
After a couple of coats, you’ll find that the next time you need to clean your wheels, a simple spray from the hose will get the majority of the dirt off. Your wheels will hold up longer and you’ll spend less on cleaning products. The important thing to remember when applying a wheel wax or glaze is that your wheels are clean, dry, and cool.
That means you need to find a shady spot to do your cleaning. Sure, waxing your wheels takes some additional effort, but it will save you time and money down the road, and that’s definitely a tradeoff we can get behind!
Apply tire dressing
OK, so you’ve scrubbed everything down and now your wheels look slick and shiny, but your tires are still dull. A quality tire dressing will give your tires a shiny and gorgeous look that will last a long time. The keyword here is “quality.”
Some of the older dressings contained silicone. The silicone would produce and incredibly shiny and “wet” look, but it wouldn’t last. What’s more, that silicone would break down the rubber in the tire. The result would be a dirty brown coloration and a reduced lifespan for the tire.
Today’s newer dressings don’t contain any silicone. As a result, you don’t get that soaking wet look like products in the past boasted, but you also don’t get the breakdown of your rubber and reduced lifespan.
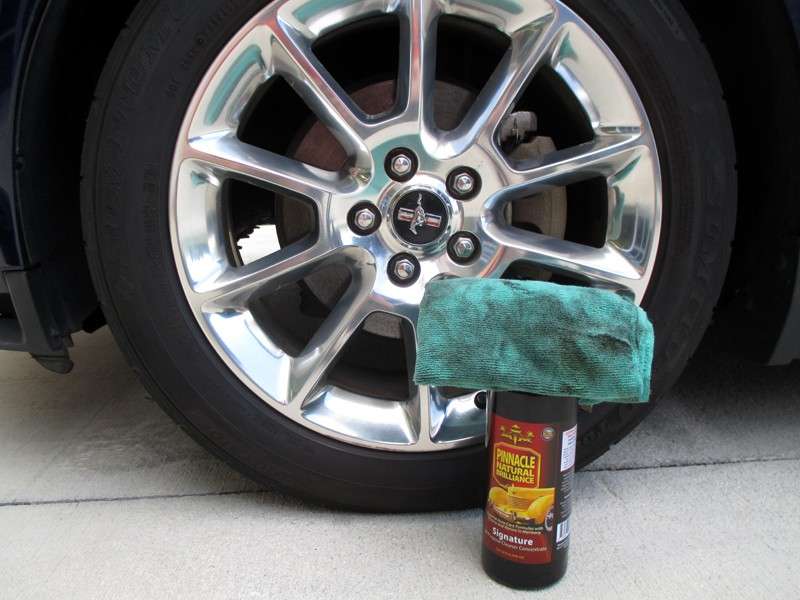
In a word, tire dressings today produce a “semi-glossy” finish. You won’t get any of the browning and today’s dressings are far gentler on the tire itself. One of our favorite tire dressing products is the Onyx Tire Gel from Pinnacle Black.
It’s a water-based formula with no trace of alcohol or petroleum distillates, so it’s very gentle on rubber. The gel is thick, which makes it easy to get a nice, even coating on the tire. Not only will it give your tire a rich, black finish, it will also keep much longer than similar products and keep rubber from drying out. In fact, the Pinnacle product can even rejuvenate older, neglected tires. Using a tire dressing requires similar steps as waxing your wheels.
Start by thoroughly washing and drying your tires. Now, it’s time to apply the tire dressing. Most dressings will not only come with the dressing liquid (or gel), but they’ll also come with a foam applicator pad.
Apply a thin layer of the dressing on the applicator pad, then work the pad around your tire in even strokes until the entire sidewall is coated. Now comes the most critical part of the process. You have to wait.
Each product will have a different “curing” time, but they virtually all require you to wait before driving or applying a second coat. For example, our preferred Pinnacle Black Onyx Tire Gel suggests a 10-minute curing time. After the 10 minutes have gone by, you can apply a second coat for a higher level of shine.
If for some reason your tires are too shiny, you can rub down the tires with a clean towel after curing 10 minutes to cut down on the gloss. When you’ve got just the right amount of shine, let your tires sit for 15 minutes before you drive your vehicle.
If you happened to get some of the dressing on your wheels, wipe it off as soon as you can with a clean towel (if you’ve applied wheel wax this process will be a breeze).
Final Thoughts
Keeping your car looking great doesn’t require any complicated steps, but you do have to put in a bit of time. Cleaning and dressing up your tires and wheels aren’t the quickest task, but if you do it on a regular basis, you’ll find that it gets easier and easier as you build up a layer of protection. Following our 3 steps above will ensure that you’re not only looking great while you cruise, but you’re also extending the life of your wheels and tires.
