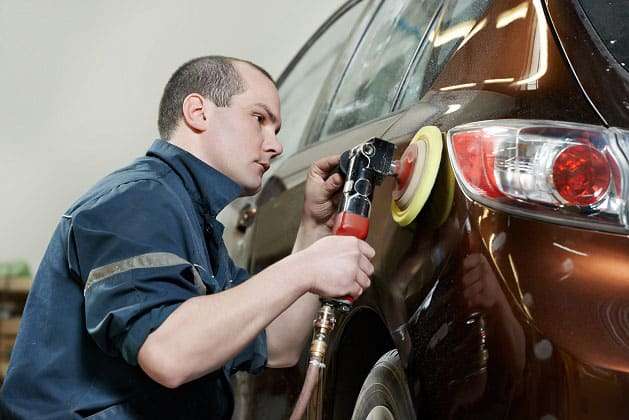
If you’ve got a nasty deep scratch on your car and you want to get rid of it, then see this simple guide on how to remove deep scratches from your car. Parking in the furthest reaches of the lot? Check. Using a car cover whenever possible? Of course. Waxing your paint weekly? Always. However, regardless of how well you take care of your car, you’re bound to end up with a scratch sooner or later. Thankfully, for lighter scratches, there are several DIY methods for removing them without a trace. But what if the damage is more severe?
Can you remove deep scratches from a car without having to take it to a body shop? Yes, and in fact, you will only need a few items. These items include:
- 1x Bottle of rubbing alcohol
- 1x Microfiber cloth
- 1x Vial of factory touch-up paint
- 1x Foam sanding block
- 2x Sheets of sandpaper (1,500 and 2,000 grade)
- 1x Tube of filler putty
- 1x Bottle of paint leveler
- 1x Roll of masking tape
- 1x Bottle/tub of automotive specialty wax
Before we dive into the actual process of removing a deep scratch, then let us first take a closer look at the surface of your car to help you determine whether the damage is light or deep. Let us get started with the basics right away!
Scratches 101: A Closer Look
Base Layer (Metal/Fiberglass/Plastic)
Underneath all the glitter and gloss, there’s the body of your car. Which usually consists of some form of steel or aluminum combination (as well as other alloys). For the front and rear bumper, most are made of fiberglass or a mix of different plastics.
Primer/Sealer
Before applying a layer of paint, a primer is used to fill in any surface imperfections. Next comes a sealer, which not only results in a superior glossy finish but helps protect the metal from oxidation and rust as well. Sealers also help the paint adhere to the body, creating a strong bond that ensures the finish looks great for as long as possible.
Basecoat
Here’s what gives your car gets its unique color, the basecoat, which is typically about 4 to 6 mils thick (1/1000 of an inch). Many basecoats also have anti-oxidant properties (in addition to what’s found in the sealer). This helps keep the base layer free from damage due to moisture.
Clearcoat
On top of all that, is the clearcoat (usually between 1.5 to 2 mils thick). Which serves as the first line of defense against the outside world. Clearcoats – are clear (big surprise), containing no resin or pigments. Their purpose is to protect the basecoat from small scratches and scuffs, as well as UV damage caused by the sun. Now that you understand the anatomy of your exterior paintwork, you should be able to grasp the difference between a light scratch, and a deep one.
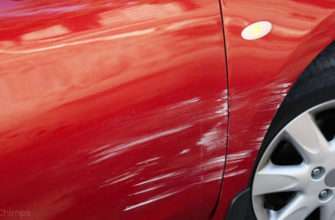
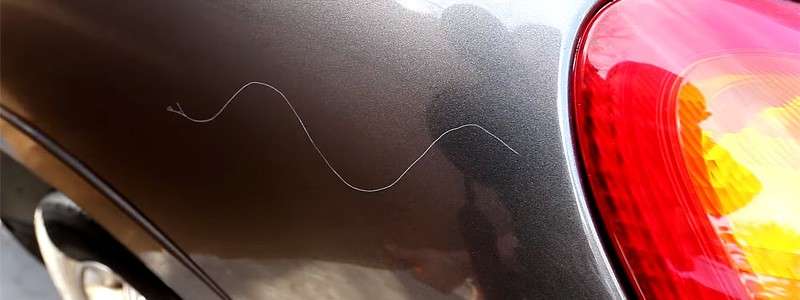
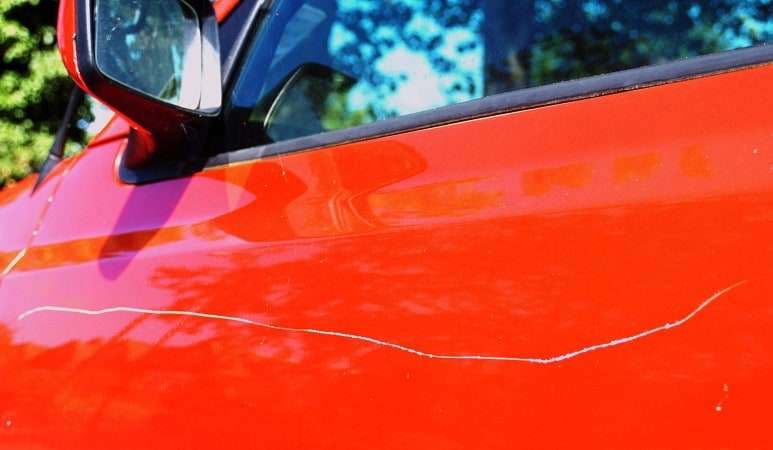
A light scratch is one that’s only made it as deep as the clearcoat without reaching the basecoat. A deep scratch, in comparison, goes beyond the clearcoat into the basecoat, and sometimes as far as the base layer. As you might have guessed, the method for repairing a light scratch is different compared to a deep one. Let’s review that now.
DIY Methods For Removing Scratches From A Car
First, you need to determine whether you have a light or deep scratch. You can usually tell by its color – if it’s white, it may have gone through the basecoat. Another way is if you can only see it from a specific angle (depending on the light), in which case it is likely a light one. The last way to be sure is to run your fingernail across it. If it catches, then it’s probably past the protective coating.
How To Repair Light Scratches
Here’s what you’ll need:
- 1x Can of WD-40 or store-bought scratch remover
- 1x Microfiber cloth
- 1x Bottle of polishing compound
And here’s what you need to do:
- First, wipe down the affected area with a microfiber cloth, since any loose particles can cause further harm.
- Next, spray the area with WD-40, or apply a small amount of scratch remover.
- Wait 15-20 seconds, and wipe it down gently, making circular motions as you do.
- If it’s not significantly reduced after a single application, give it another.
- Finish it off by applying a small amount of polishing compound to even things out, and you should have yourself some pleasant results. If not, then you might want to continue reading to find out how to repair a deep scratch.
How To Repair Deep Scratches
As we mentioned earlier, here’s what you’ll need:
- 1x Bottle of rubbing alcohol
- 1x Microfiber cloth
- 1x Vial of factory touch-up paint
- 1x Foam sanding block
- 2x Sheets of sandpaper (1,500 and 2,000 grade)
- 1x Vial of filler putty
- 1x Vial of paint leveler
- 1x Roll of masking tape
- 1x Bottle/tub of automotive specialty wax
Here’s how you do it:
- Start by cleaning the affected area using rubbing alcohol and the microfiber cloth.
- Use the masking tape to surround the damage, leaving about an inch on each side.
- Wrap the foam sanding block with the 1,500-grade sandpaper and gently sand down the area within the tape using small circular motions. The point of this step is to reduce the clearcoat surrounding the scratch, not remove it entirely.
- Next, apply a small amount of filler putter directly on the scratch, which will “fill” it in, so it’s not so deep. Let it dry for roughly 15 to 20 minutes.
- Then, use a small bit of paint leveler to remove the excess filler putty, leaving a filled-in scratch.
- Here’s where the factory touch-up product comes in. To find your specific paint code, check on the sticker inside the driver-side door. You can find factory-specific touch-up paint either online or at the nearest dealer for your brand of car. Expect to spend about $15-$30 on this.
Most of the time, the product will feature a removable top with two ends, one that’s similar to a pen, and the other that’s a brush. The bottom of the vial should be a separate cap, leading to a clearcoat applicator. If there is no applicator, you’ll have to purchase an automotive spray.
Ok, let’s add some paint. Dab or draw along the scratch until it no longer shows the primer, or is fully filled in. Then, let it dry for about 20 minutes. Be sure to sand the area again afterward using the 1,500-grade sandpaper.
- Now it’s time to apply the clearcoat, using either the applicator or a store-bought spray. Let it dry overnight.
- Once dry, increase the masking tape width by an extra inch, then wet sand the area with the 2,000-grade sandpaper. If you didn’t already know, wet sanding just means to wet the area first, using gentle circular motions. Dry the area and examine the results. If they’re still moderately visible, repeat step 7.
- Finish by applying a coat of wax to the area, and you should have yourself a near-perfect final result.
Scratches? What Scratches?
If you’ve made it this far, then you should be fully equipped to hand any scratch no matter how deep it might be. Do not spend $150-$300 just because of a light scratch, or as much as $300-$900 on a deep one. Instead, tackle it yourself in a single afternoon.